|
|
|||||||
| Fit & Finish Fit and Finish = the difference in "good art" and "fine art." Join in, as we discuss the fine art of finish and embellishment. |
 |
|
|
Thread Tools | Display Modes |
|
#1
 11-30-2008, 11:14 AM
|
||||
|
||||
|
How to achieve better results using leather in handles
With this method you avoid some issues that arise when you use a leather / metal combination as a spacer.
When you sand and polish the metal parts that sandwiched leather pieces, these metal layers get hot and transmit that heat to the leather strips, which gets contracted, resulting in an end piece with the metal and leather parts at a different level. You can feel and see the difference, and it's not the proper finish I'd like my customers to get on their knives. I've been doing this for over a year now, with excellent results. Strip of leather (8" x 1 1/4" x 3/16"), plastic bag to contain the leather and resin and about 50 grams or prepared polyester resin. This ammount will be more than enough to impregnate this piece. 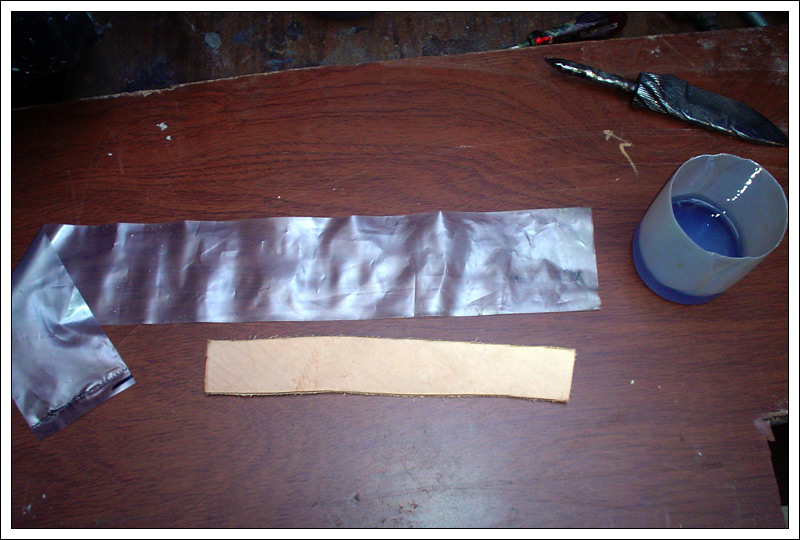 Leather strip and resin already inside the plastic bag (if anyone's wondering, bag thickness is 60 microns) 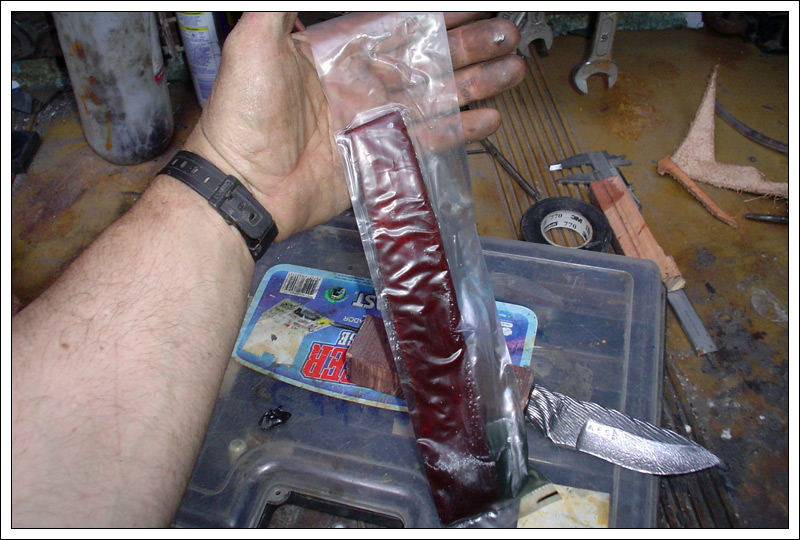 After pressing the bag to get rid of the extra air inside, I tie the bag to close it. 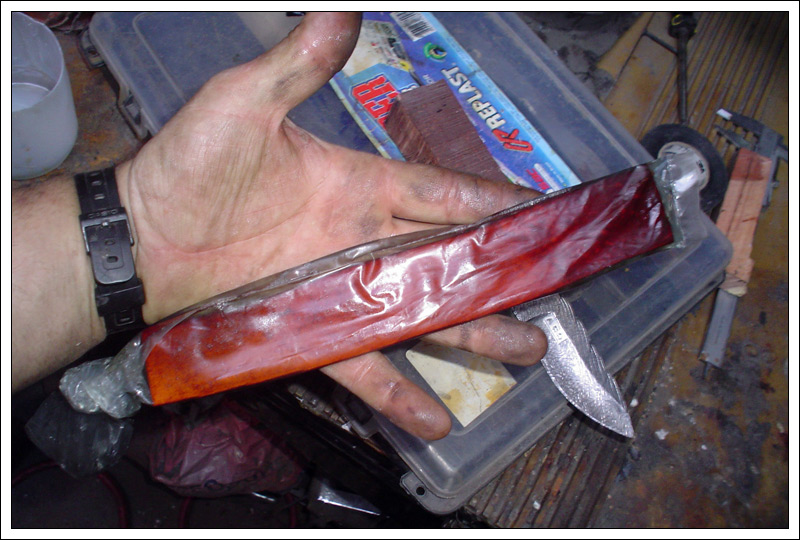 Getting the bag inside the pressure chamber. You can read more about it here: http://www.aescustomknives.com/docs/tutorial14.htm 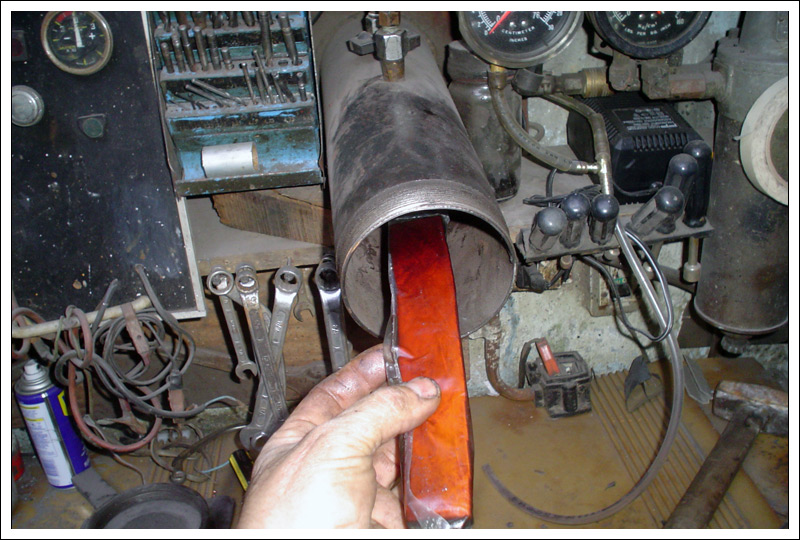 Closing it. 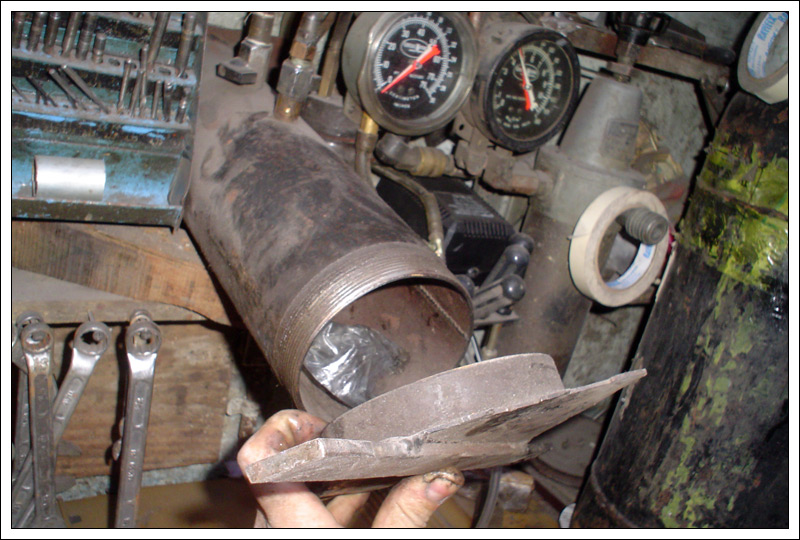 This time I use pressured air. This means that I put 120lb/inch for 15 minutes to the hermetically closed tube / pressure chamber. 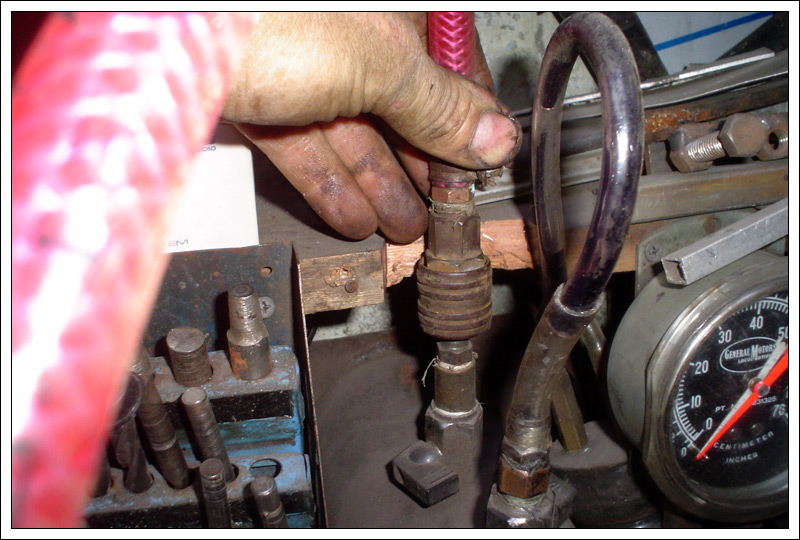 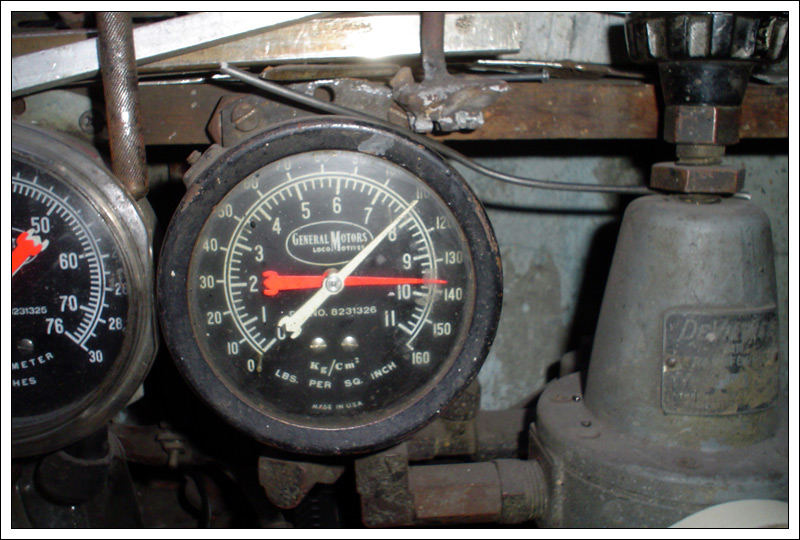 Once I get the bag from the pressure chamber, I open it to get the leather strip out (resin doesn't get glued to the polyethylene bag) 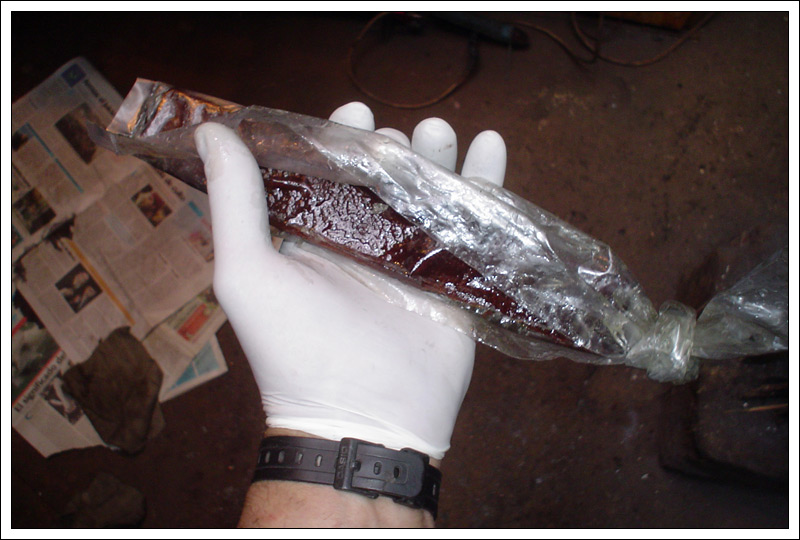 Then I remove the extra resin in gel-like state from the leather. 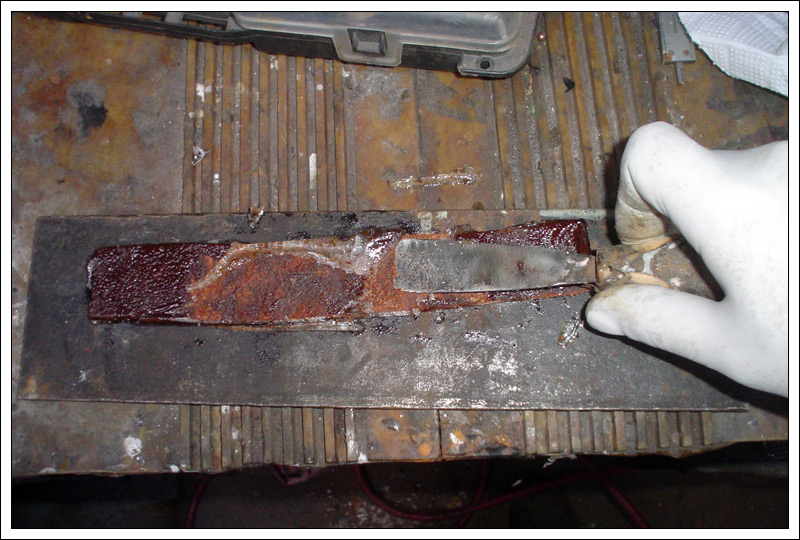 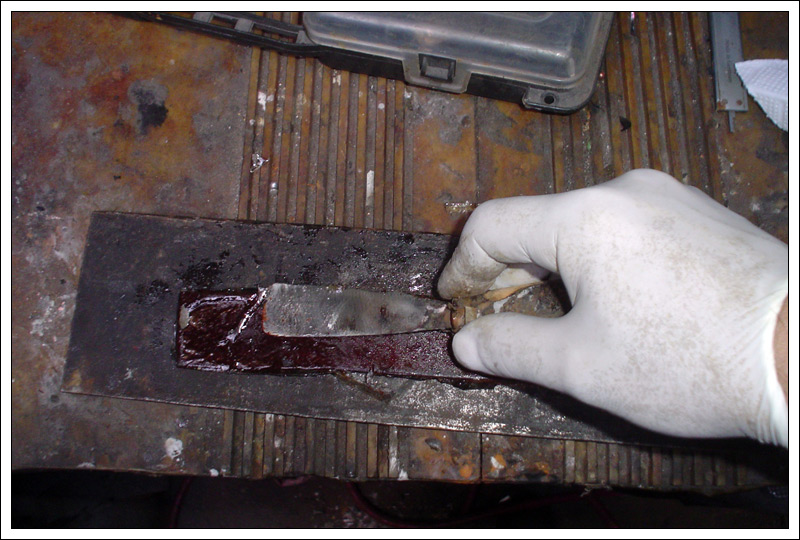

|
|
#2
11-30-2008, 11:15 AM
|
||||
|
||||
|
After cutting to size and drilling them, I use the leather as spacer material directly on the knife.
 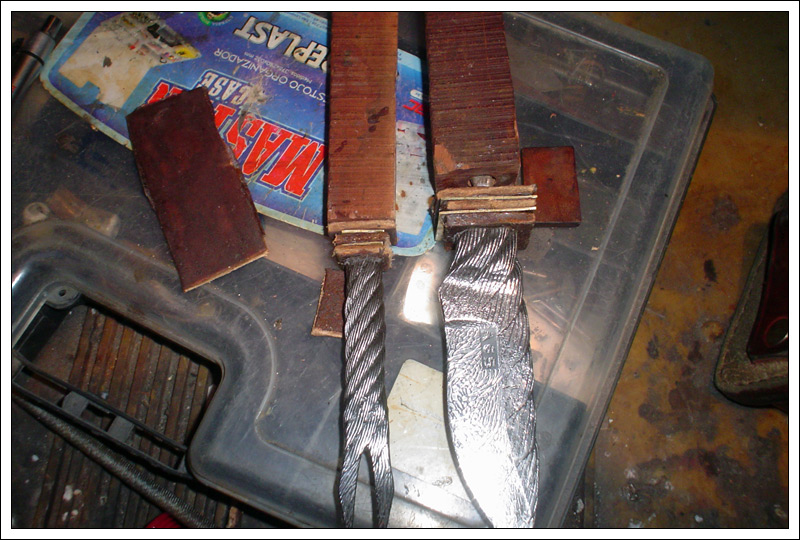 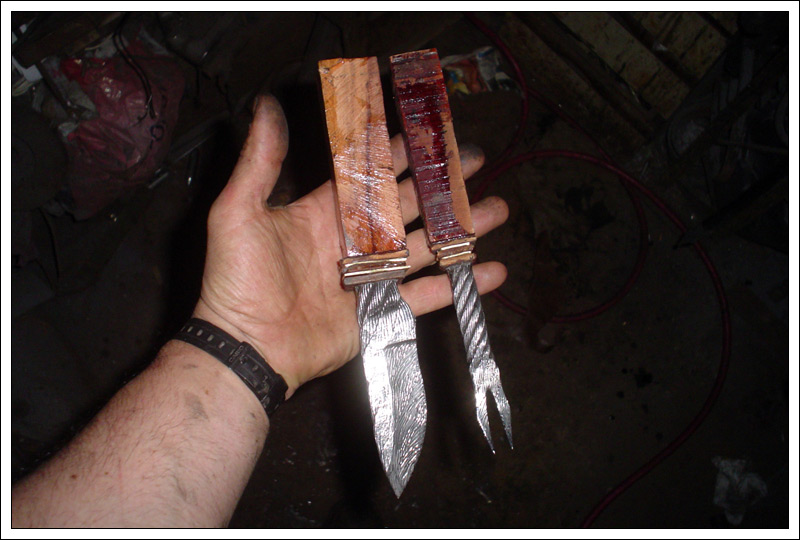 This precess gets the leather to aquire a better hardness, estability and impermeability while also allowing a better finish. And here's the finished knife and for set. Cable (1085) damascus. 8 1/2" overall lenght. Knife edge is 3 1/2" Curupay wood handles, with bronze and leather spacers. Buttcap in nickel silver and copper mokume.  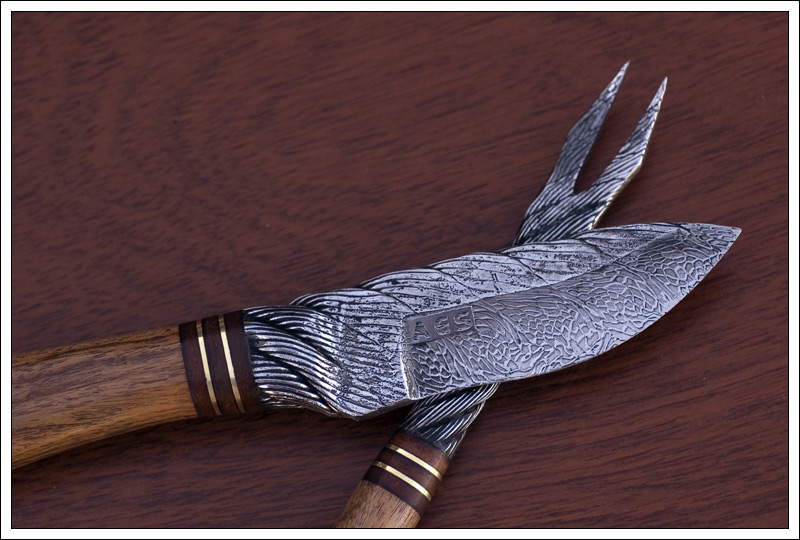 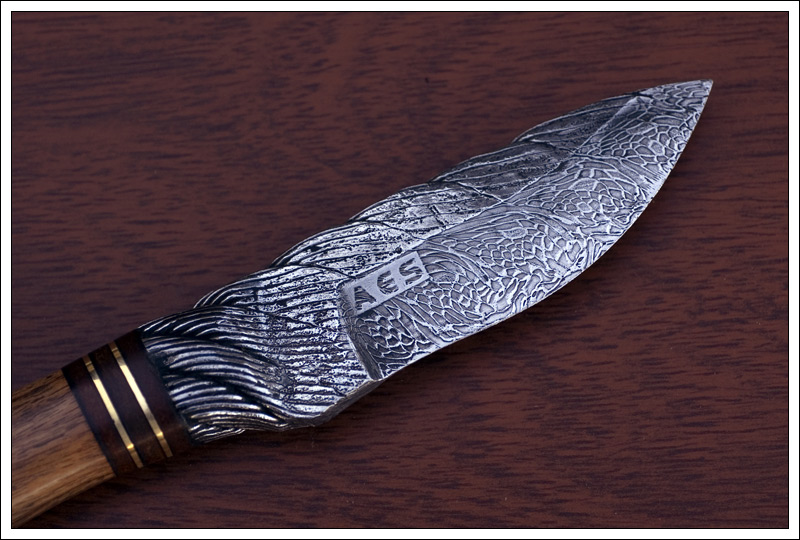 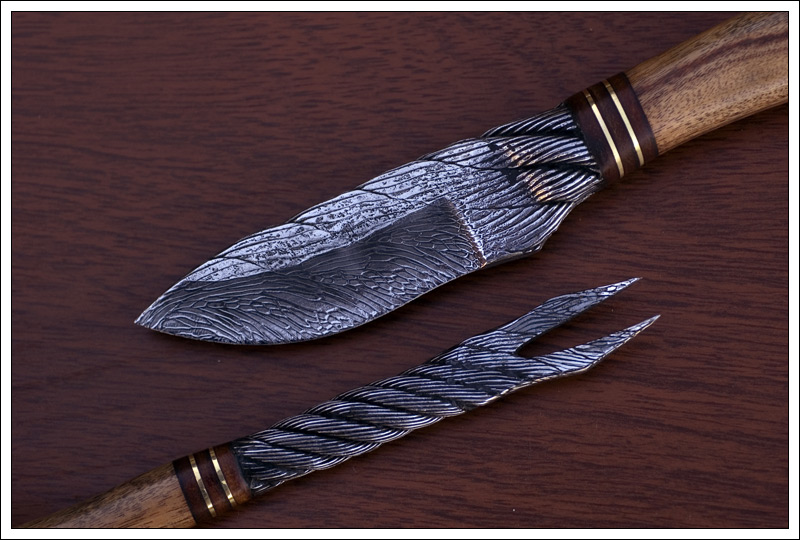  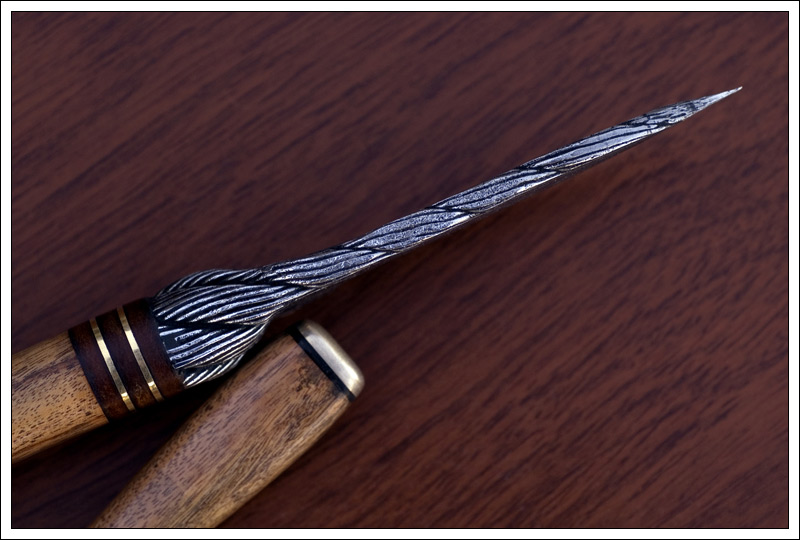 Sign up for my Newsletter: http://yourwebapps.com/WebApps/mail-...cgi?list=79955 Thanks for looking! Ariel
|
|
#4
11-30-2008, 06:43 PM
|
||||
|
||||
|
thats really cool, seems like there would be a market for that material, after reading this as well as most everthing you have posted , i had to read your website attempted to find out your education level?? i assumed you have a degree in engineering but your website
didnt say. awesome work your the man who finds solutions bb
|
|
#5
12-01-2008, 05:29 PM
|
||||
|
||||
|
Not an engineer, I finished high school (specialized in mechanics) and then started working repairing hydraulics on diesel locomotives. But I like to read a lot and since that time I've been reading books, articles and manuals on these subjects and a lot more.
And I also like to get my hands on stuff and try for myself, as you'd probably realized by now  Ariel
|
|
#6
12-06-2008, 10:40 PM
|
||||
|
||||
|
This is a great tutorial! Great pictures too! Some questions: Is epoxy glue the same thing as polyester resin? Also,, could this technique be used to make a "stack washer" style leather handle? This has given me lots of ideas,, I made a pressure vessel at work to treat antler and wood, I never thought of using leather with it! Thanks!! --Jon
|
|
#8
03-12-2009, 03:15 PM
|
||||
|
||||
|
Jon,
Not the same. Epoxy would be best, but it has to be liquid enough and I can't get that type locally. either way, I never had a problem with this poly resin in the past  You could make a leather handle like that with no problems at all! I've made a matching beer opener for the owner of the set Cable (1085) damascus. Curupay wood handles with cable pins. Lanyard bead in nickel silver and copper mokume. 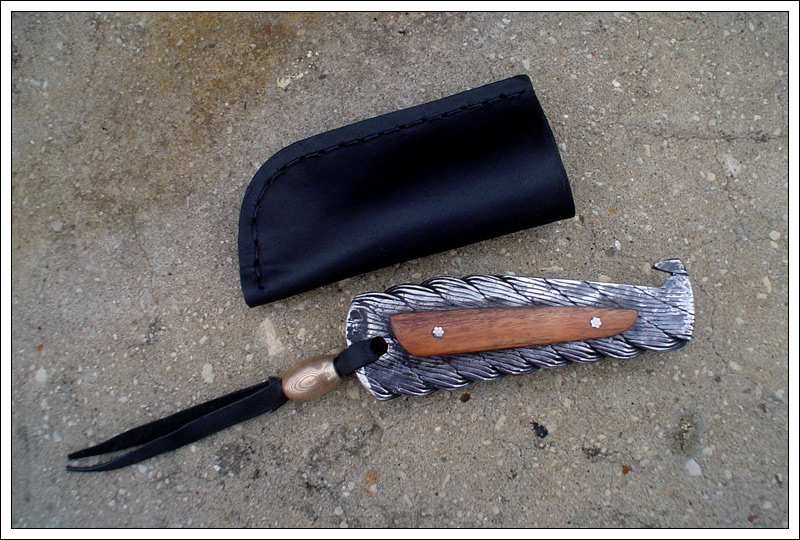 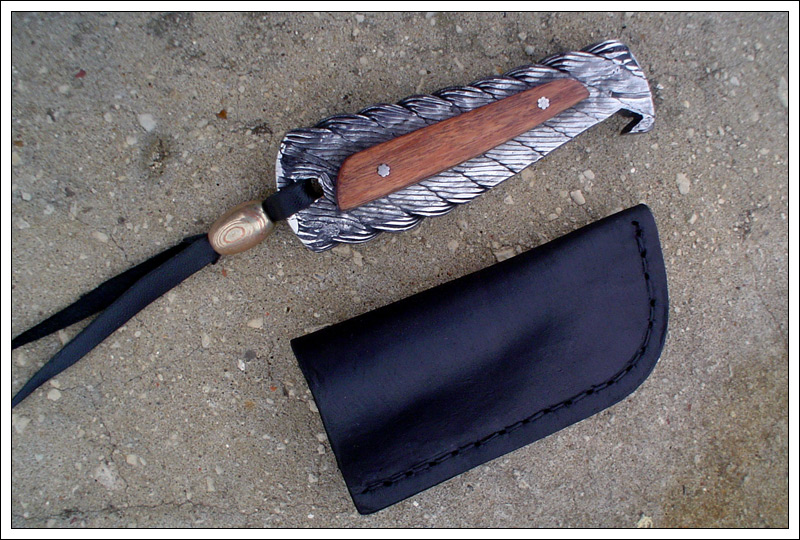 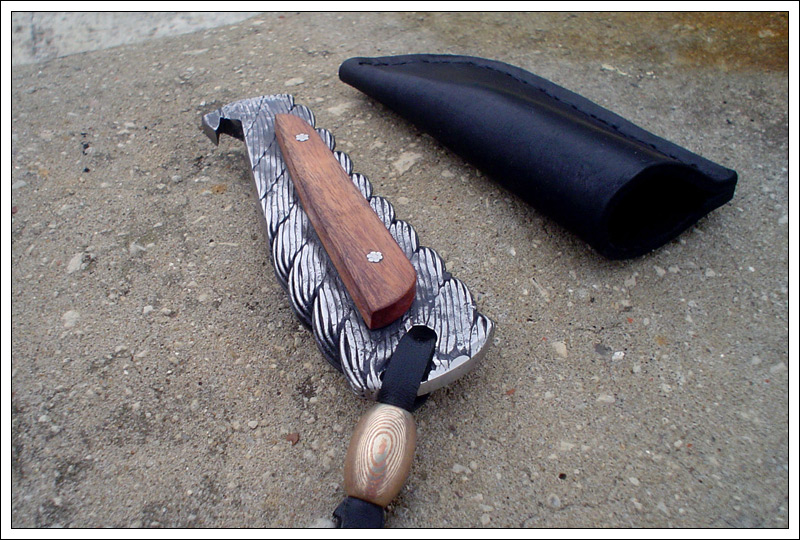  Sign up for my Newsletter: http://yourwebapps.com/WebApps/mail-...cgi?list=79955 Thanks for looking! Ariel
|
|
#9
03-12-2009, 09:26 PM
|
||||
|
||||
|
Dear Ariel, I'm going to start a new thread, and ask you some questions on it. Please, please respond to it and hopefully answer some more questions!!!!!! Love your work!!! --Jon
(Fit and Finish)
|
|
#10
06-19-2009, 06:00 PM
|
|||
|
|||
|
Another good method is just cut a bunch of old dried leather that you can get scraps from any saddlemaker of old harnes leather and such with a round punch about 1 1/4 inch that the saddlemaker will have and probably let you use in his shop if you are taking out old scrap, and then send it to K & G and have it stabalized that way you can get any color you want and get a bunch done cheaply. I sent a whole boxful and it works great and polishes up great like stabalized wood.
Good Luck Percy
|
|
#11
06-19-2009, 11:03 PM
|
||||
|
||||
|
Dear Percy, After stabilizing, do the washers end up being "hard" or remain flexible? How are they to work with after stabilizing? Sounds like a great idea! ----Jon
|
|
#13
06-26-2009, 02:44 AM
|
|||
|
|||
|
Ariel, another how to for the books of knifemaking. As always you do a wonderful ob explaining the processes that you use. Thank you for sharing your knowledge with the rest of us.
Thanks and take care. Curtis Wilson __________________ Curtis Wilson Wilson's Custom Knives, Engraving, and Scrimshaw
|
|
#14
06-27-2009, 09:56 PM
|
||||
|
||||
|
Good idea, and it looks like it works well. You did almost the exact opposite of what I did, I used a length of iron pipe and made a vacuum chamber out of it. You must have a monster air compressor because mine doesn't even get up to 80 PSI and it was easier to find a vacuum pump (from an old refrigerator or AC unit) and a lot safer. If anyone wants details on how to make one PM me.
|
|
| Tags |
| blade, knife, knives |
| Currently Active Users Viewing This Thread: 1 (0 members and 1 guests) | |
|
|


 Linear Mode

