|
|
|||||||
| Register | All Photos | FAQ | Members List | Calendar | ShopStream (Radio/TV) | Search | Today's Posts | Mark Forums Read |
| The Newbies Arena Are you new to knife making? Here is all the help you will need. |
 |
|
|
Thread Tools | Display Modes |
|
#1
|
||||
|
||||
|
Two-brick Forge
So I thought I would repost this with a more appropriate title. I've decided to take pictures of this project for 1) critique and criticism by other members in order to catch any mistakes and improve the design, 2) add to the already existing media provided by other members.
I got the bricks today. Driving to Phoenix never is fun, but we didn't die on I-17 so I call it a good day  Here they are, one dozen soft fire bricks from Marjon's Ceramics, to be used in building two 2 brick forges. I convinced my neighbors that they need one too. 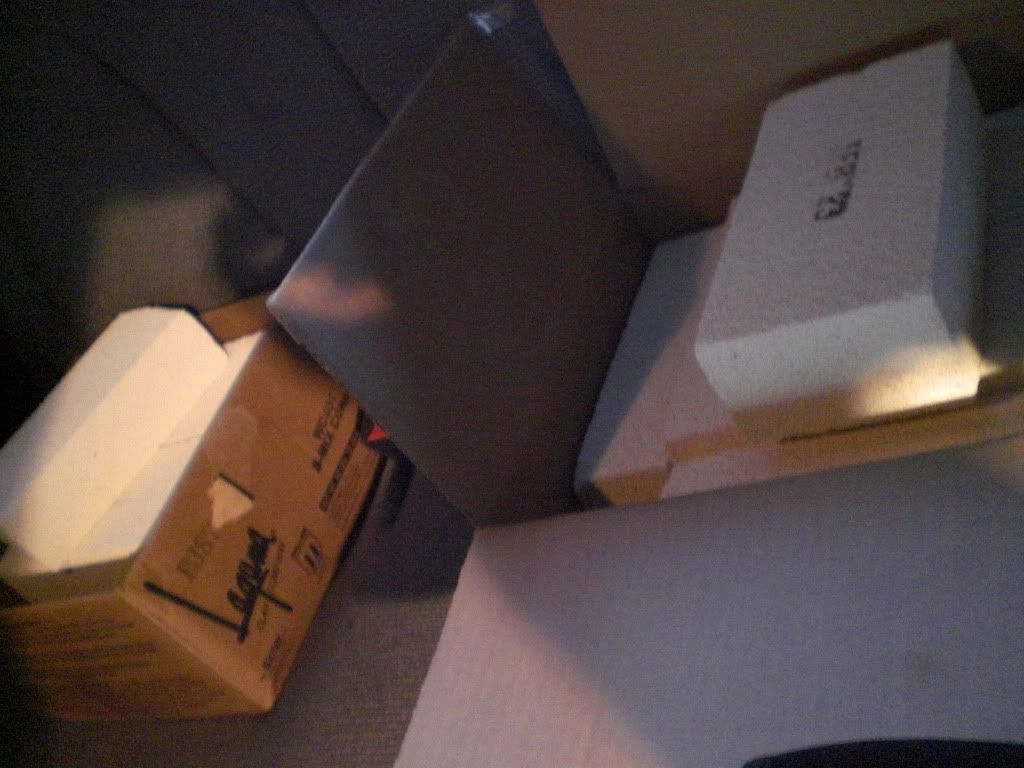 Here are some regular bricks and sand to make the base. 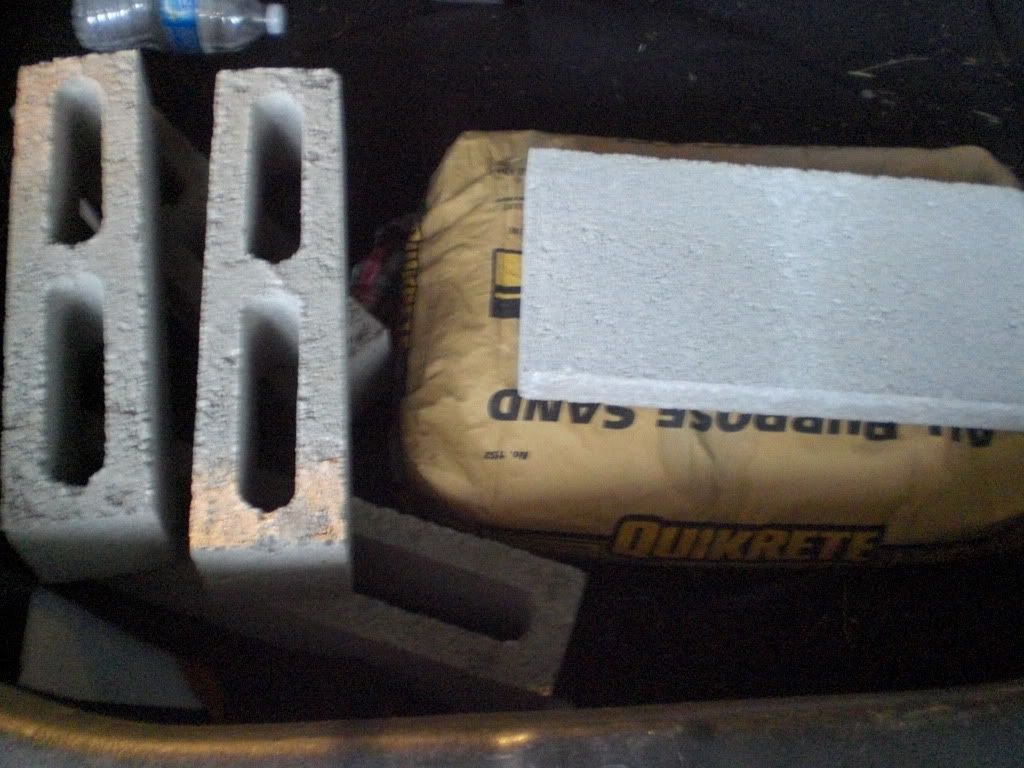 Here is where it will go. Do you guy's think that it is too close to the tool shed? I'm not sure how much heat this will put off and how far. 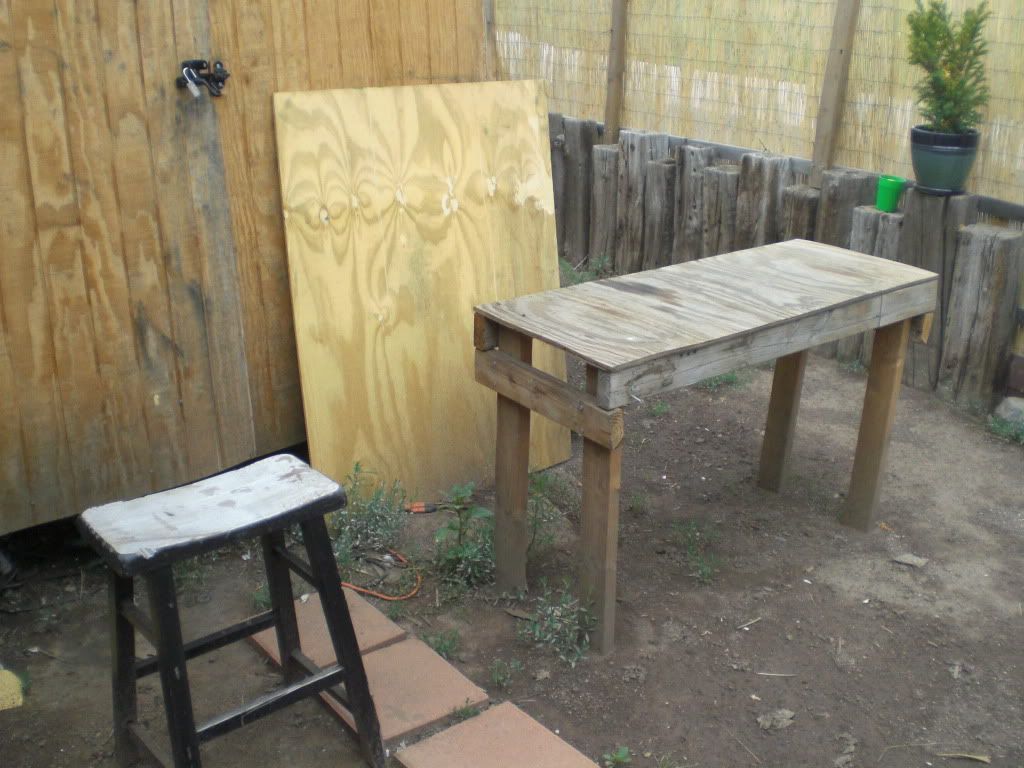 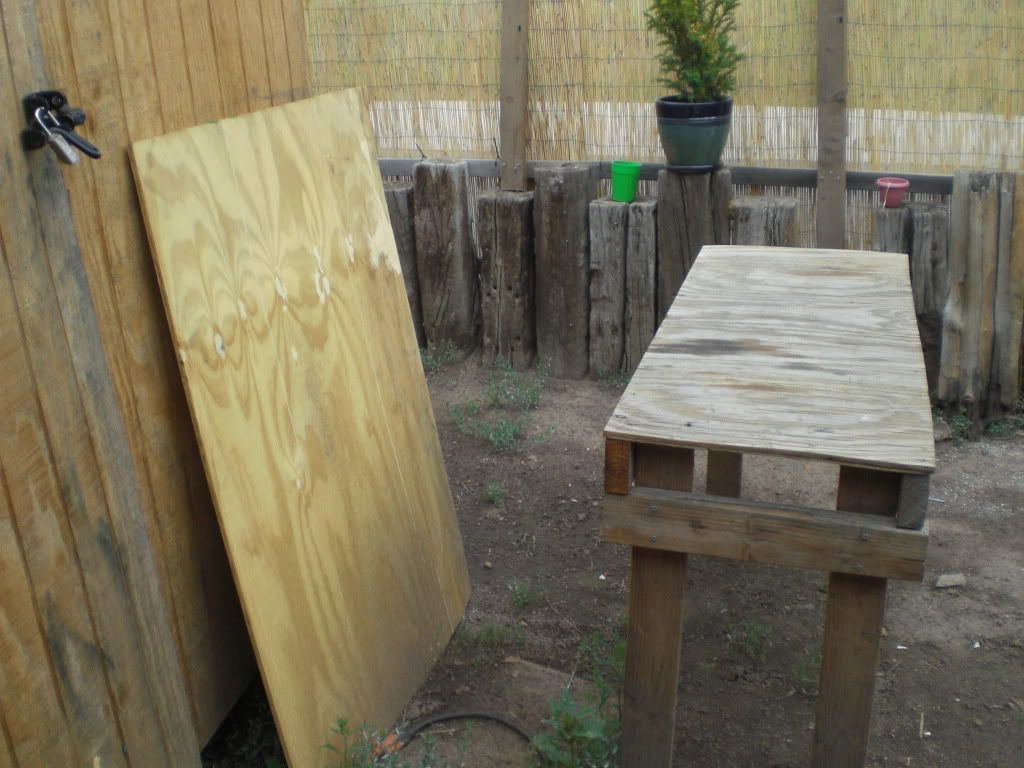 Here is the fire dept. as seen from my small yard. This is a mixed blessing. Obviously in case there is a fire. But it being Flagstaff, they are sticklers about anything fire, and rightly so. But hey, we aren't allowed to have fires or charcoal grills, but we ARE allowed propane  !!! !!!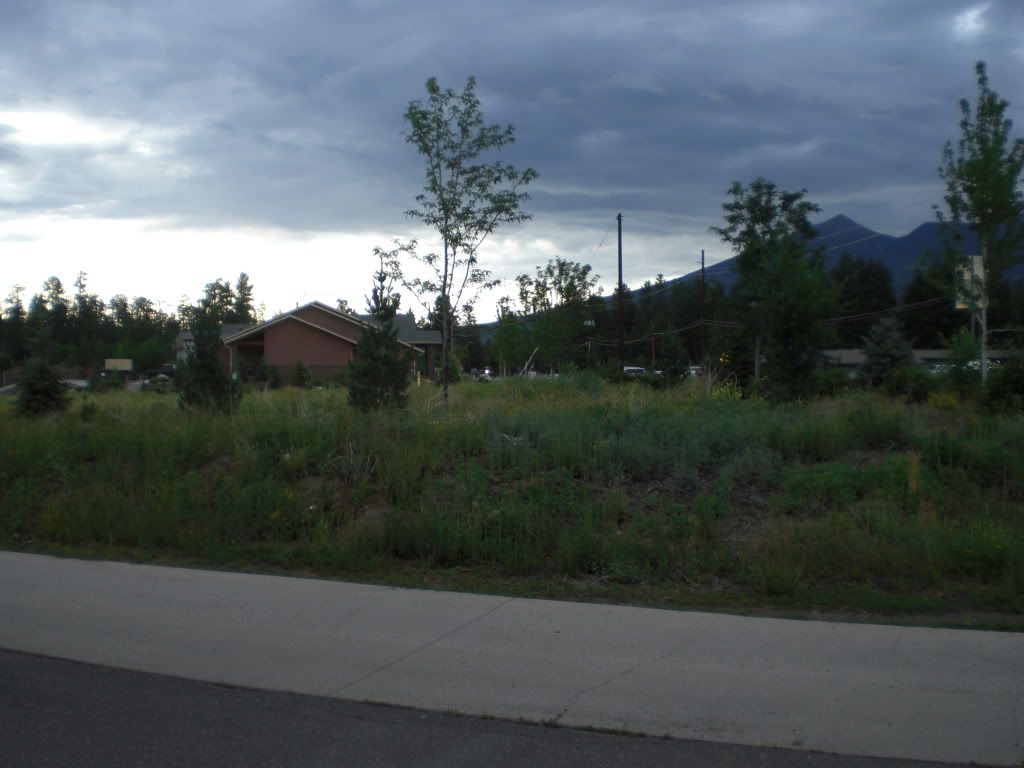 I'll put up more pics as I work on it. |
|
#2
|
||||
|
||||
|
Find some kind of metal plate or sheeting to put over the plywood. You will inevitably reach a point during forging where you need to set something real hot down real fast and don't need to be wasting time looking for a safe place. Old traffic signs work really well.
As long as you keep and eye on things >>>NEVER leave a running forge unattended!!<<< you shouldn't have a problem with side heat. A firebrick at the back will solve the backdoor heat emission, but keep some distance from the shed (say 3 feet). The front door will take care of itself. Find yourself needing longer tongs......turn the gas down. ps - PHX is a neat town, I've always had a good time when there. Nothing like flying in on a clear night. __________________ Carl Rechsteiner, Bladesmith Georgia Custom Knifemakers Guild, Charter Member Knifemakers Guild, voting member Registered Master Artist - GA Council for the Arts C Rex Custom Knives Blade Show Table 6-H |
|
#3
|
||||
|
||||
|
Cool thanks for the tips. Yeah PHX is alright. It was 105F today. Really makes me feel bad about complaining about the 80F we've been having up here.
|
|
#4
|
||||
|
||||
|
Is the back of the forge flat? Or is it rounded like a pill capsule?
|
|
#5
|
||||
|
||||
|
#6
|
||||
|
||||
|
CJ
Looking very good so far. Most I've seen are open clear through with a third brick placed, butted, up against the rear opening. This way you can easily open, close, or just partially block the rear opening. Allowing more versatility with longer material, sealing with interior back pressures, and heat control. It'll make more sense once you have used it a while. Make sure you have a way to keep it dry from the occasional rain. Damp bricks can get exciting if heated to quikly! You'll be tight for room inside the forge, nature of that style forge, but a few small pieces of firebrick rubble about the size of a flat carpenter's pencil placed accross the floor interior will raise your work piece and allow a quicker even heat. Not necessary, but will help speed up your cycles. Easy to try and easy to remove. Might bump Capn Randy about torch mounting and hole placement. He had it worked out really well on his last 2-bricker. Might also ask him about heat adjustment......things can get way too hot in one of these if you're not careful and paying attention. __________________ Carl Rechsteiner, Bladesmith Georgia Custom Knifemakers Guild, Charter Member Knifemakers Guild, voting member Registered Master Artist - GA Council for the Arts C Rex Custom Knives Blade Show Table 6-H |
|
#7
|
||||
|
||||
|
Just a tarp should work right? Right now I have .7mil plastic over the base to keep the sand from splashing off, and well lemme' tell ya that stuff is a headache for sure. But it's what I had for now. Should I have to worry in the winter about cold temps being a problem and cracking anything?
So it's all the way through with a 3rd brick (with satanite on it I'm assuming) just pushed up the back? Could a second two bricker be pushed up against the first in this manner to make a longer forge? Would/could the heat be too uneven for longer pieces? |
|
#8
|
|||
|
|||
|
Yes you can add a second set of bricks to make a longer forge but I would advise that you see what you can do with just the one set. You can normalize the knife in halfs and you will only need to austinize the blade for quenching. Also with a pass through port on the back you can actually heat treat a blade that is a little longer than the forge is deep. You just pass the blade seciton back and forth in the chamber to austinize the blade and you can keep the heat in the blade pretty even too.
Doug __________________ If you're not making mistakes then you're not trying hard enough |
|
#9
|
||||
|
||||
|
Doug's approach is best. Extending the length of the forge changes the interior peramiters of operation. In other words you're messing with ratios and will have to make all sorts of adjustments to get it to work right. Learn the standard version first.
Correct on the 3rd brick, a little back leakage is no problem. It will be minimal. Tarp will probably work ok, just don't want the forge body to get wet. Winter temps should not be a problem with the masonary end of things. I forge regular throughout the year hot/cold wet/dry all outside under cover. Wind is the only factor that I have any problem with and I have learned to manage that with shields and stuff. I really like forging when there is snow on the ground (rare here in Acworth but not so rare in HD). It changes the "whole affect" if you stay aware of your surroundings. Just really Kool. __________________ Carl Rechsteiner, Bladesmith Georgia Custom Knifemakers Guild, Charter Member Knifemakers Guild, voting member Registered Master Artist - GA Council for the Arts C Rex Custom Knives Blade Show Table 6-H |
|
#10
|
||||
|
||||
|
Alright so I may have missed a few steps on the pics. I went ahead and carved it all the way through. Just finished the stepwise burns. Waiting till its a little darker to burn her in full blast. Have some rebar I'm going to try and make tongs out of.
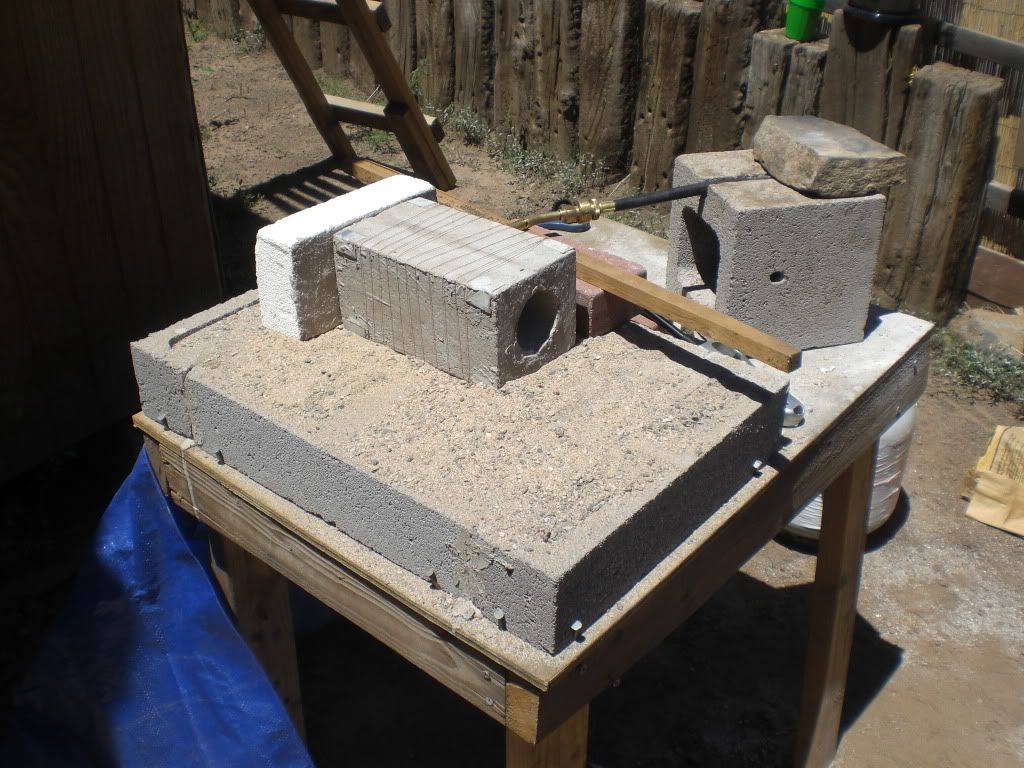 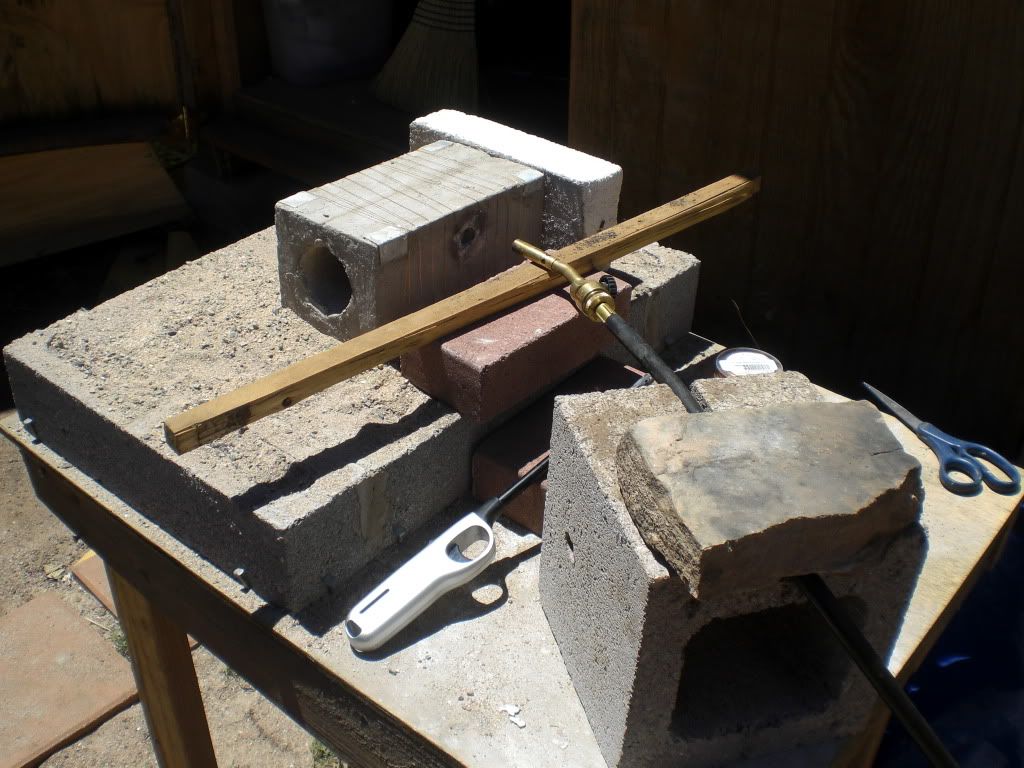 I'll have to put some more copper wire on there and mortar it in. One of the strands near the hole sort of melted  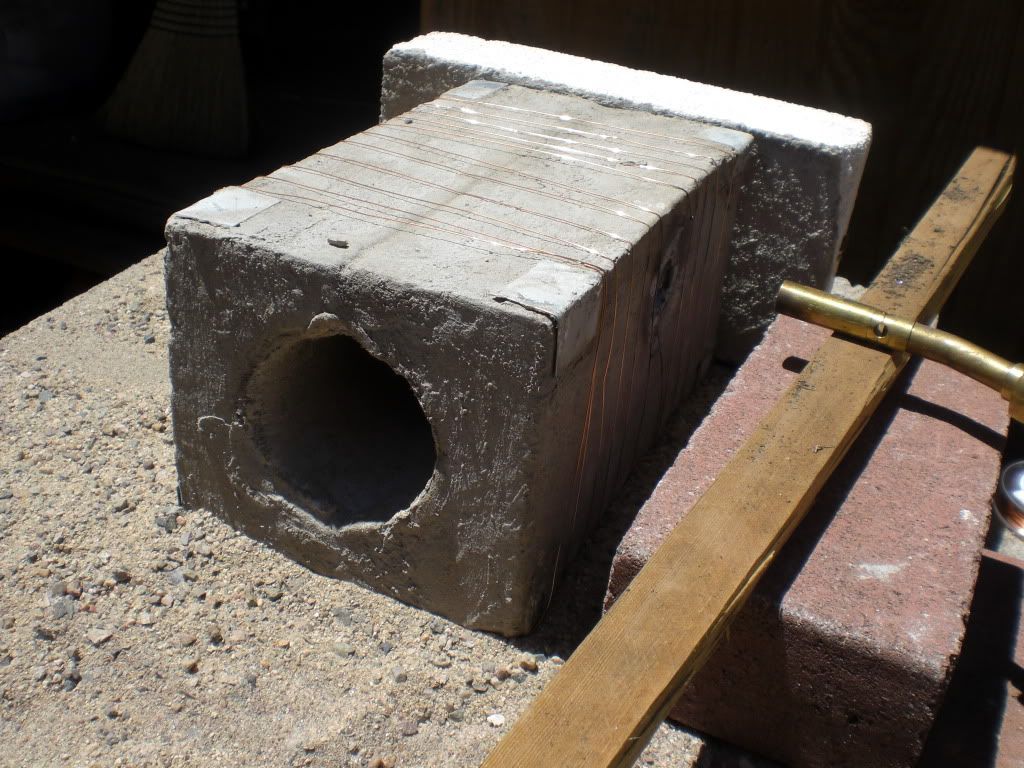 Tarp to pull over it for when not in use. 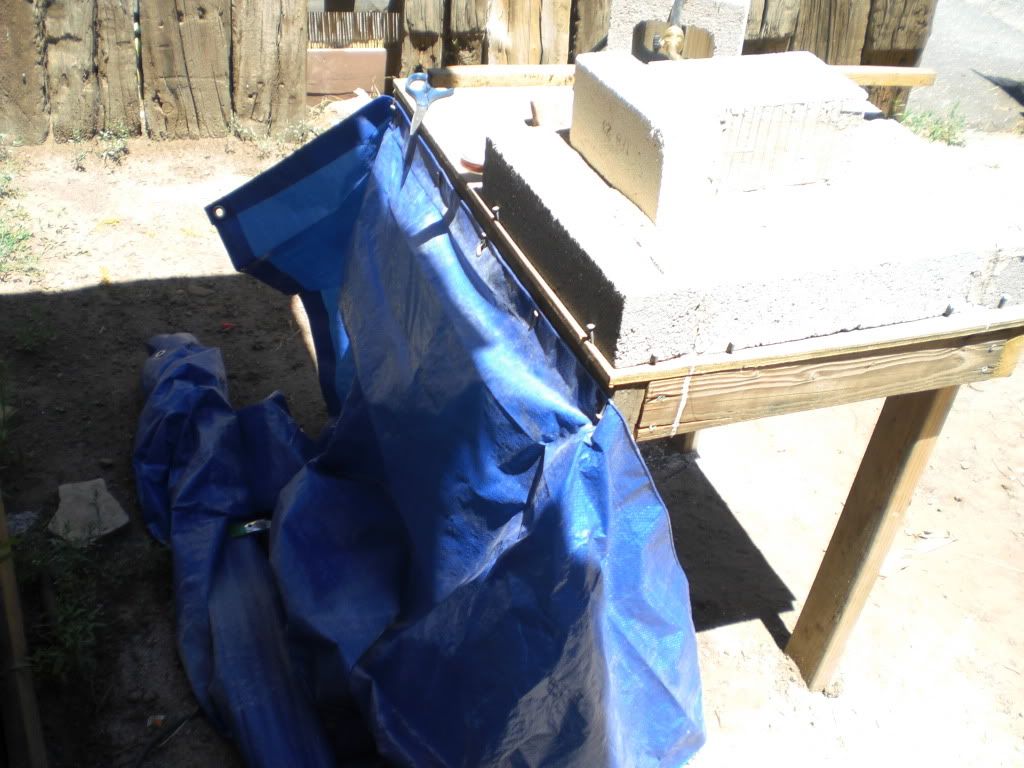
|
|
#11
|
|||
|
|||
|
Looking good. It goes without saying that you will need to let the forge cool before covering. The heat can build up under the cover and cause problems. If the forge does get wet, all you will need to do is to run it until it stops steaming. Voice of experience.
Let us know how it goes. Doug __________________ If you're not making mistakes then you're not trying hard enough |
|
#12
|
||||
|
||||
|
And how long should it take to fire it up? How long should each knife take to heat up, approx?
|
|
#13
|
||||
|
||||
|
Is the inside supposed to glow?
|
|
#14
|
|||
|
|||
|
Yes, the inside will glow. How long the blade will stay inside will depend on the steel that you are using and what proceedure you're performing. If you are just wanting to normalize the steel all that you need to do is bring it up to non-magnetic and allow it to get a little brighter for a few seconds. If you are preparing it for the quench then you will want it to get just a little hotter to make sure the carbon disolves into the austinite. How long and, to an extent, how hot will also be deternined by the alloy that you are dealing with.
For a steel that has less than 77 points of carbon, that's represented by the last two or three numbers in SAE steels, i.e. 9260, 1095, 52100. then you can heat a little hotter for just about a minute. If it is at or above 77 points you will do better to keep the temperature down to around 1450-1500 degrees and soak for 5-10 minutes to disolve the carbon while avoiding grain growth. That might entail pulling the blade out for 3-5 seconds then return it for 3-5 seconds. That's really pretty standard unless you have a forge that can be turned down and monitored with a pyrometer. Doug __________________ If you're not making mistakes then you're not trying hard enough |
|
#15
|
||||
|
||||
|
Well then I must have done something wrong. Even after plenty of time to heat up, the only part that is glowing is directly where the flame comes in. I don't know where I went wrong. Is my torch too small? I don't know. Bummer
|
 |
| Tags |
| 52100, art, blade, brass, flags, forge, forged, forging, heat treat, knife, made, pins, post, supplies, supply, ts-8000, two bricker, wax |
| Currently Active Users Viewing This Thread: 1 (0 members and 1 guests) | |
| Thread Tools | |
| Display Modes | |
|
|
 Similar Threads
|
||||
| Thread | Thread Starter | Forum | Replies | Last Post |
| Two brick forge... | Peldor | Tool Time | 5 | 03-03-2007 11:53 AM |
| One brick forge | NJStricker | The Newbies Arena | 18 | 01-03-2007 01:28 PM |
| One-Brick Forge D2? | TikTock | Heat Treating and Metallurgy | 1 | 06-16-2005 08:21 PM |
| One brick forge | sixgun | The Newbies Arena | 14 | 10-15-2003 10:29 AM |
| One Brick Forge X 8 | hammerdownnow | The Outpost | 1 | 03-17-2003 04:43 PM |